
A TV box can turn an older television into a practical Russian-language entertainment center, but only when the internet connection, player app, and subscription details are entered correctly. This setup guide for IPTV boxes walks through the steps that matter most, so your household can get to live channels, archived programs, movies, series, cartoons, and sports without spending the evening in settings menus.
Start With the Right IPTV Box Setup
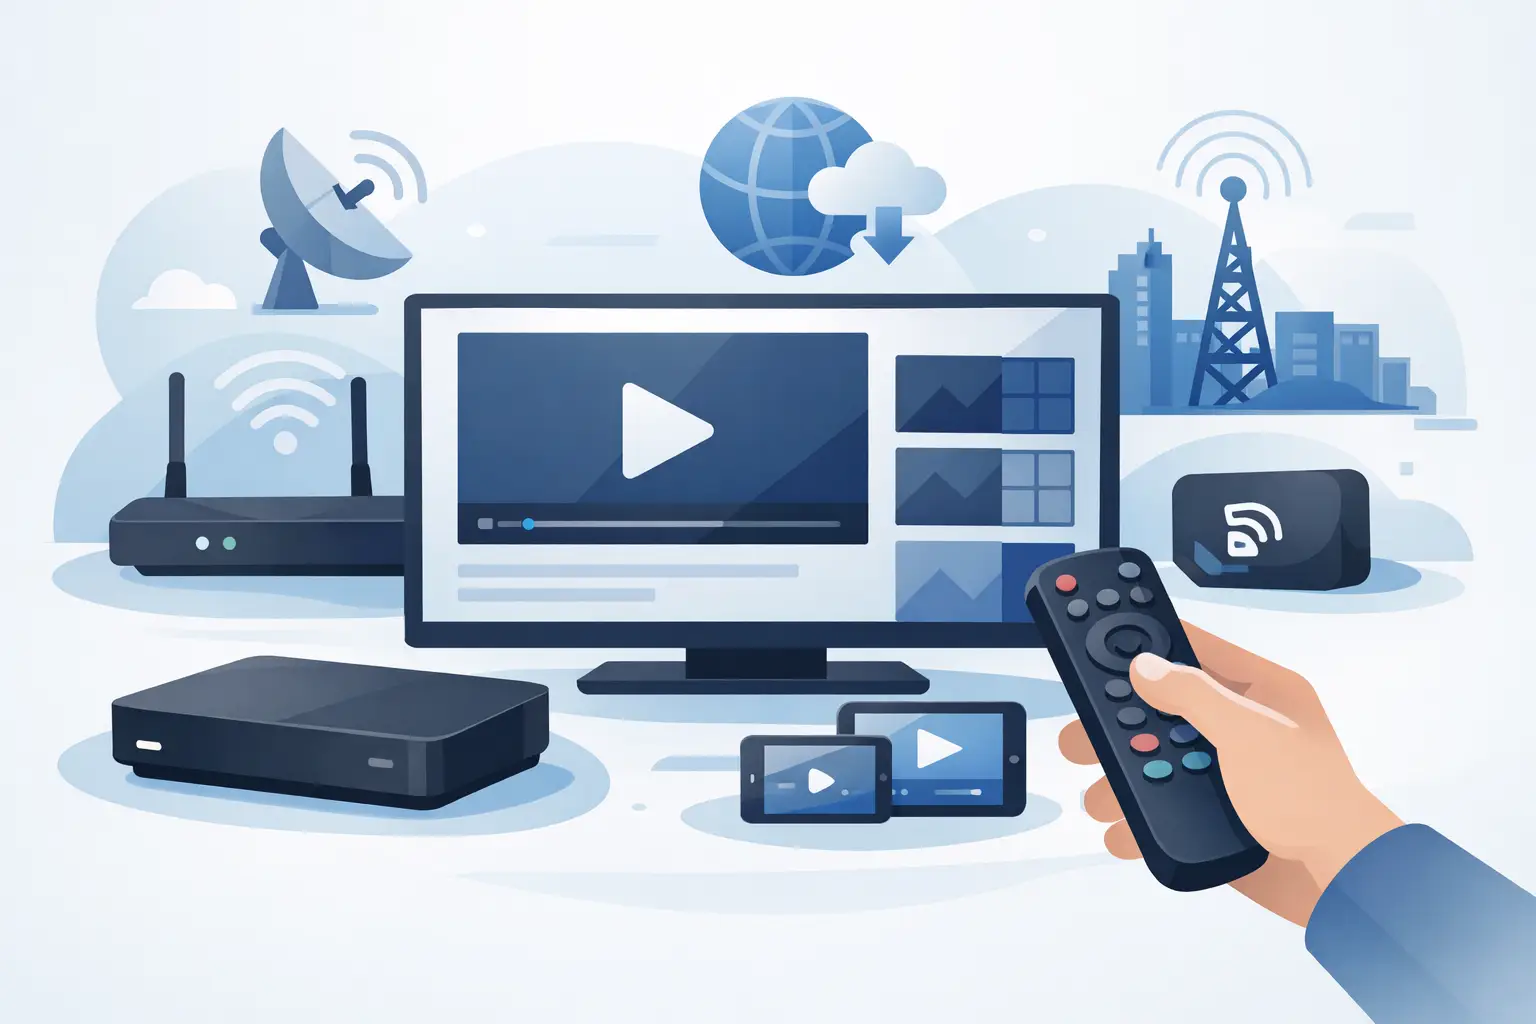
An IPTV box is a small device that connects to your TV and plays television through your home internet connection. Common choices include Android TV boxes, Android-based set-top boxes, Fire TV devices, and dedicated IPTV receivers. The exact menu names vary by model, but the setup process is similar: connect the box, install a compatible player, and add the access details supplied with your subscription.
Before starting, place the box close enough to your router for a stable Wi-Fi signal or, preferably, connect it with an Ethernet cable. Live HD and 4K channels use more bandwidth than ordinary web browsing. A wired connection is usually the better choice when several people in the home stream at once, when your router is far from the TV, or when the picture occasionally freezes.
Keep these items nearby before you begin:
- Your IPTV subscription login details or playlist address
- The MAC address of your box, if your provider uses MAC-based activation
- A reliable internet connection
- The remote control and, if needed, an HDMI cable
Use subscription details only from a legitimate service provider. Avoid downloading unknown apps or playlists from random websites, as they can be unreliable, outdated, or unsafe.
Connect the Box to Your TV and Internet
First, connect the IPTV box to an available HDMI port on the television. Turn on the TV and choose that HDMI input using the Input or Source button on the TV remote. Then connect the box to power and allow it to start fully. The first launch can take a few minutes, especially after a software update.
For Wi-Fi, open the box Settings menu, select Network or Wi-Fi, choose your home network, and enter the password carefully. Run a connection test if the device offers one. If you can, use Ethernet instead: connect one end of the network cable to the router and the other to the box. The box should show that it is connected within a few moments.
A useful test is to open a familiar app already installed on the device and play a short video. If it loads slowly or buffers, solve the internet issue before adding IPTV. Restarting the router and box often helps, but moving to Ethernet may be the real fix for a weak wireless signal.
Choose a Compatible Player App
Most IPTV subscriptions provide either an M3U or M3U8 playlist, portal details, or an activation method linked to your device MAC address. The right app depends on which format your provider supports and what features you want to use.
For Android-based boxes, compatible players may include OTT Navigator, Televizo, or another M3U8-compatible player available through the device’s app store. These apps generally let you organize channels by category, search for a station, add favorites, and use the electronic program guide. The interface is different in each app, so choose one that feels comfortable for everyone who will use the TV.
If you have a dedicated IPTV receiver, it may use a portal-based interface rather than a downloadable player. In that case, the provider may ask for the box’s MAC address. You can usually find it in Settings under Network, Device Information, or About. Enter the address exactly as shown, including colons if they appear.
Do not install multiple player apps at once unless you are testing compatibility. One correctly configured player is easier to manage and makes it clear whether a problem comes from the app, the subscription, or the internet connection.
Add Your Playlist or Portal Details
For an M3U or M3U8 Playlist
Open the player app and look for an option such as Add Playlist, Add Provider, or Add Source. Select the M3U URL option if your service sent you a web address. Paste or type the full address exactly as provided, then give the playlist a recognizable name, such as Russian TV or Family Channels.
Some providers use a username and password instead of a single playlist link. Choose the appropriate login option in the app and enter each field carefully. Passwords are case-sensitive, so a capital letter, number, or extra space can prevent the playlist from loading.
After saving, the app may take a few minutes to download channel groups, logos, and guide data. Do not close it during this first update. Once loaded, browse a few channel categories and test both live programming and a replay or archive item if your subscription includes it.
For a Portal or MAC-Based Device
If your IPTV box uses a portal, open its IPTV settings and enter the portal address provided by your service. Some boxes show fields labeled Portal URL, Server, or Service Provider. Save the settings and restart the device if prompted.
When MAC activation is required, send or enter the MAC address through your provider’s approved activation process, then allow time for the device to be registered. A box can connect to the internet perfectly and still display no channels until activation is complete. If the portal loads but channel groups are empty, check that the MAC address matches the device exactly.
Set Up the Features Your Family Will Actually Use
Once the channels load, take a few minutes to make the box easier to use every day. Add preferred channels to Favorites so family members do not need to search through every category. Set the app language and time zone correctly, especially if you are watching in the US while following schedules from Russia, Ukraine, or other regional broadcasters.
If your subscription includes channel archives, catch-up, or time-shifted viewing, open a program that aired earlier in the day and confirm that replay works. Archive availability differs by channel and provider, so it is normal for some stations to offer more replay hours than others. On-demand movies and series may also be listed separately from live TV channels.
Russia Plus TV is designed for viewers who want broad Russian-language entertainment in one subscription, with more than 3,500 channels and access options for TV boxes, Smart TVs, phones, tablets, and computers. For a household with more than one screen, use the same account only within the number of simultaneous streams included with your plan.
Quick Fixes When IPTV Does Not Work
If a channel buffers, first test several other channels. One stream may have a temporary issue, while widespread buffering usually points to the box, app, or network. Restart the IPTV app, then restart the box. If the problem continues, reboot the router and check whether other devices are using most of the connection for downloads, video calls, or gaming.
If the app says the playlist cannot load, recheck the address and login details. Copying a playlist URL is safer than typing it manually. Also make sure the subscription is active and that the device date and time are set automatically. An incorrect clock can occasionally interfere with secure connections.
When the picture is clear but there is no sound, check the TV volume first, then open the box audio settings. Set digital audio output to Auto or PCM if your television does not support the current format. If the remote does not respond well, replace its batteries and make sure nothing blocks the box’s receiver.
For repeated freezing on Wi-Fi, reducing the stream quality can help, but a wired Ethernet connection is usually the more dependable long-term answer. If the same issue happens on every device in the home, contact your internet provider or IPTV support with details about the device, player app, and time the issue occurred.
A good IPTV box setup should disappear into your routine: turn on the TV, choose a favorite channel, or return to a program you missed. Once your player, network, and subscription are configured correctly, familiar Russian-language entertainment is ready whenever your family wants it.